Go-To Chair Yoga Practice
Whether you spend all day in a chair or not, I think everyone can benefit from a Chair Yoga practice.
What is Chair Yoga, you ask? It’s a practice that utilizes a chair to support you in your yoga shapes.
I think Chair Yoga gets a bad wrap in some yoga communities. It’s often seen as a practice only for older populations or students with limitations. Sure, Chair Yoga can make shapes more accessible to a broader scope of students. But a chair can also be utilized to help students get into variations on Wheel, Handstand, and a whole slew of shapes that are often seen as “advanced”. Chair Yoga is truly for everyone!
Below are some of my favorite shapes that are supported by a chair.
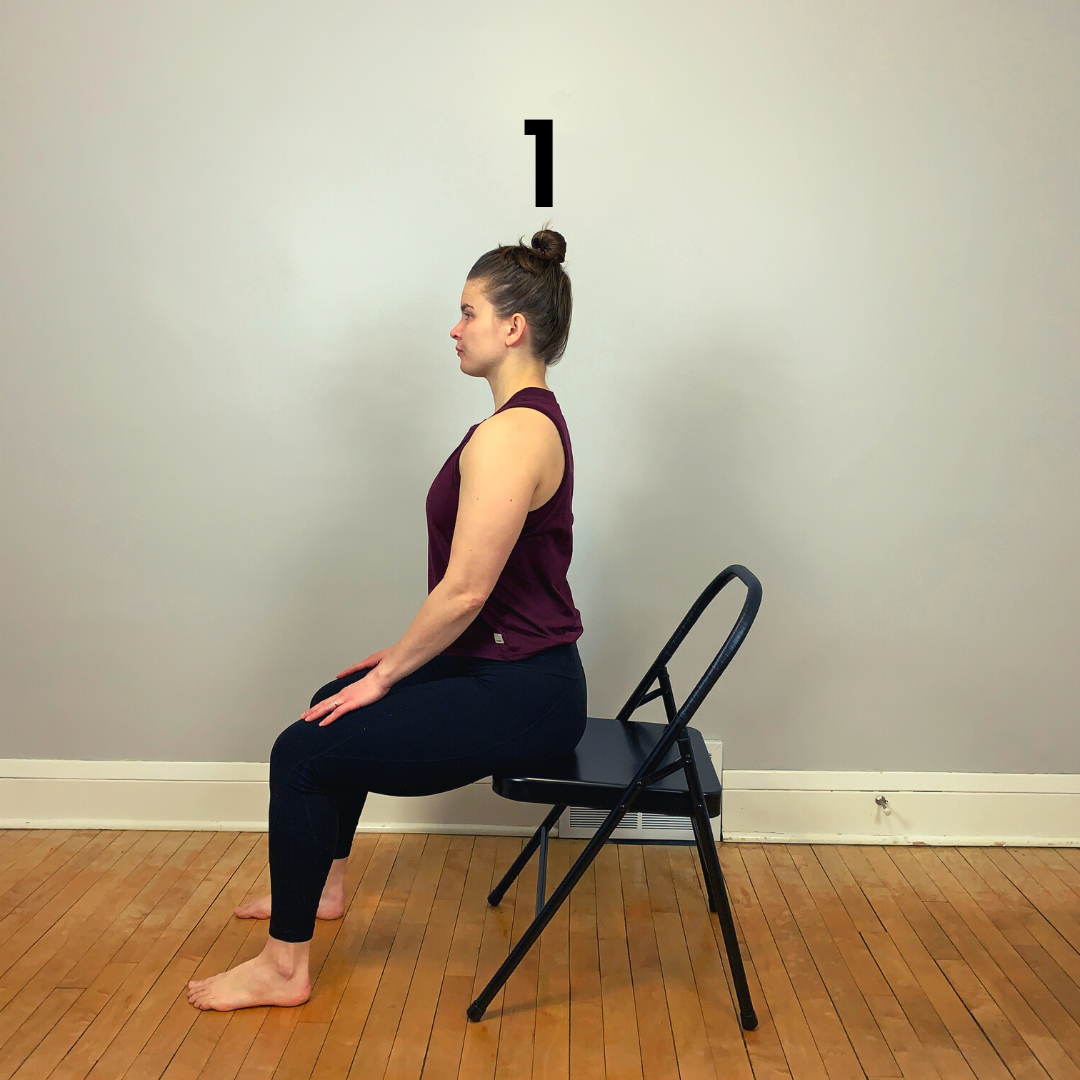
1 - Take a Seat
When doing a practice in a chair, I find that it’s helpful to simply get situated first. No matter what chair you work with, it’s important to get your feet firmly grounded. You might have to scoot forward toward the front edge of the chair to do so. Once your feet are planted about hip-distance apart feel your sitting bones ground into the chair and allow your spine to lift up from there.
Especially on days when I’m working in a chair for an extended amount of time, I like to give myself a moment to organize my body in this manner. I might close my eyes and take a few deep, slow breaths. Feeling the grounding points of your body can take the edge off on a stressful day.
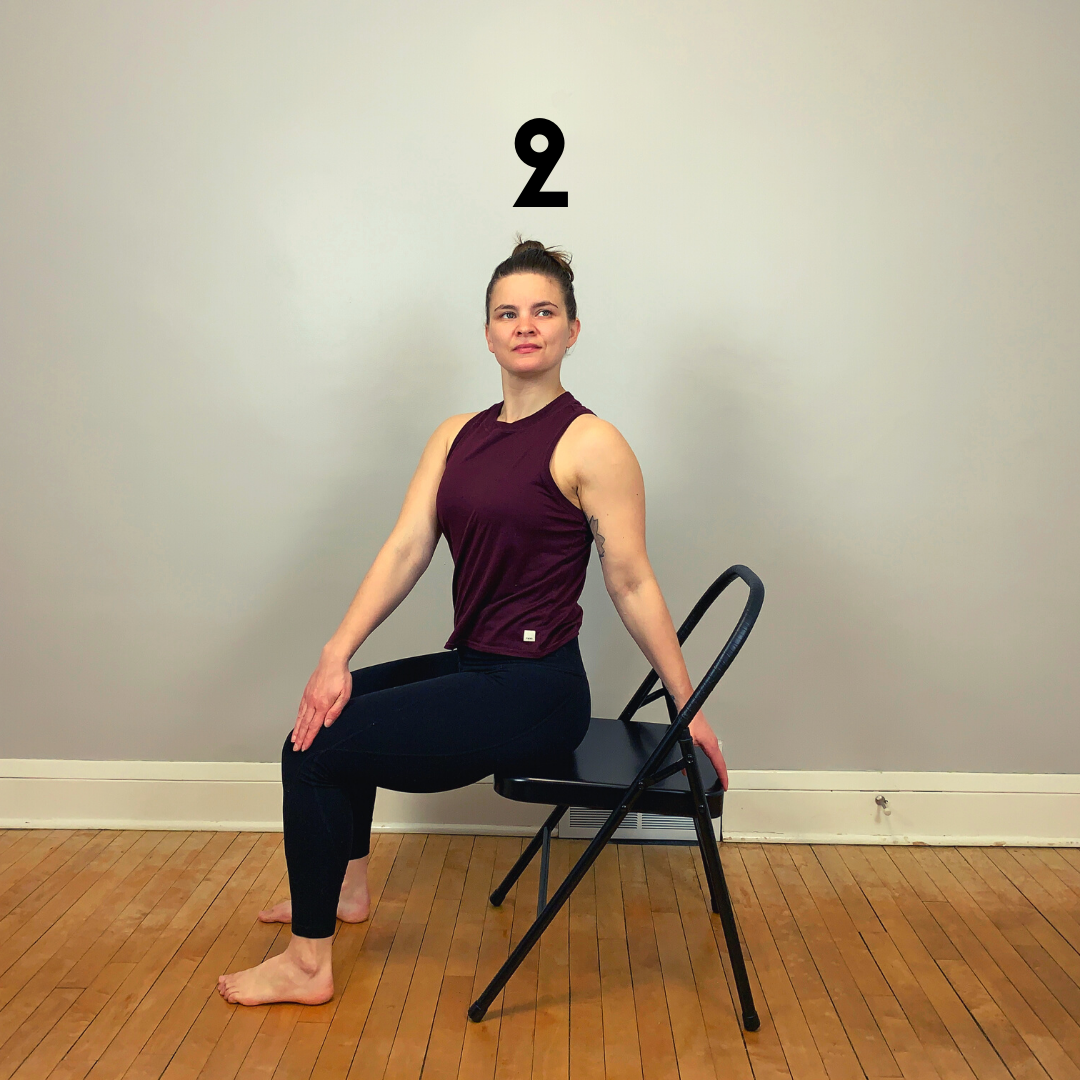
2 - Seated Twist
Now that you’ve established a grounded and tall seat, take your left hand to your right knee or thigh and right hand to somewhere on the chair - it might be the back of the chair, an arm of a chair, or the seat of the chair. Without using too much leverage, rotate your abdomen and chest to the right. Take 5-10 slow breaths and repeat on the second side.
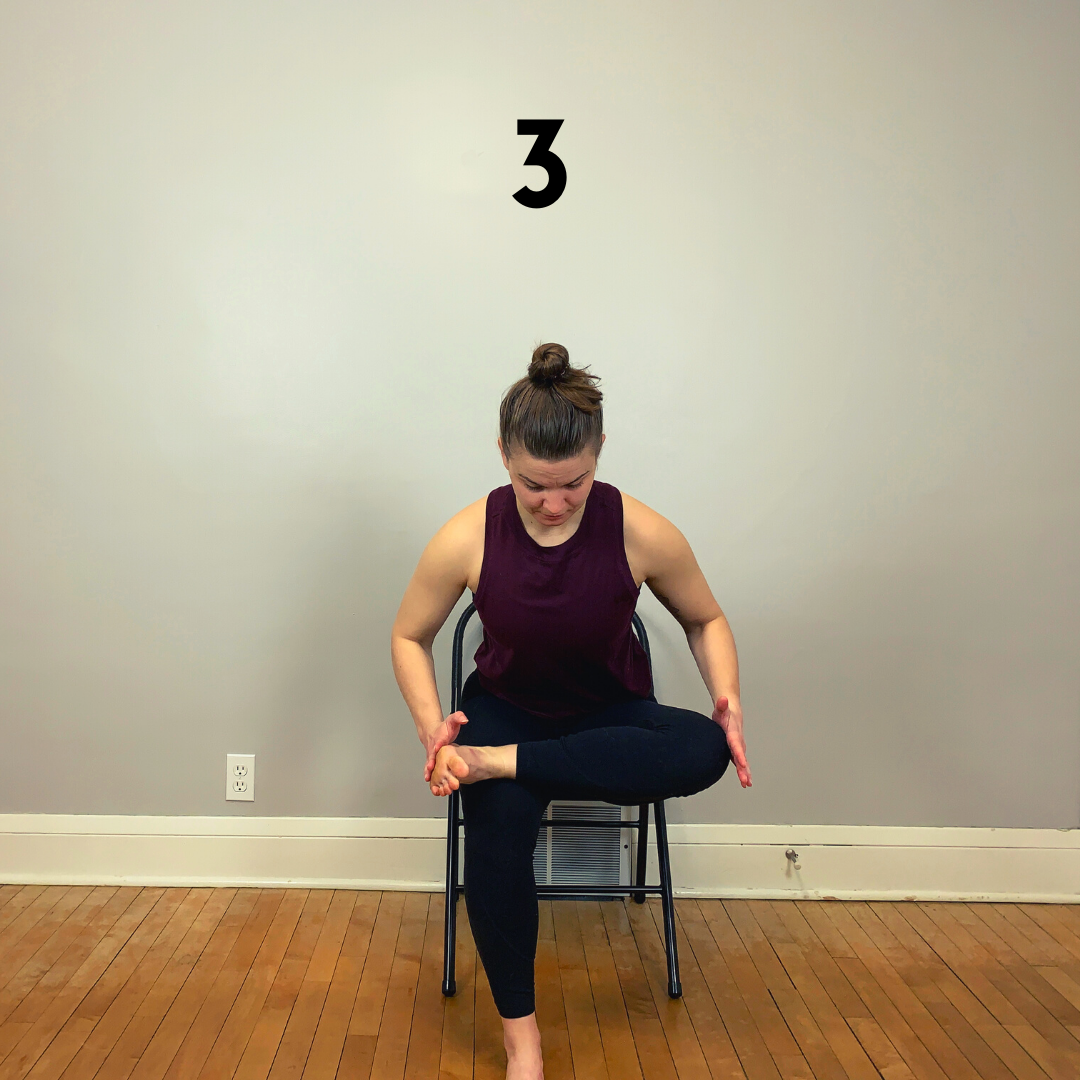
3 - Seated Ankle to Thigh
Place your right ankle on your left thigh and keep your left foot grounded on the floor. Flex your right ankle and you might even place your left hand on the sole of your right foot. This shape can be done with the spine upright, or if you’re craving a deeper sensation in your outer hips you might hinge forward from your hips. Take 5-10 slow breaths and repeat on the second side.
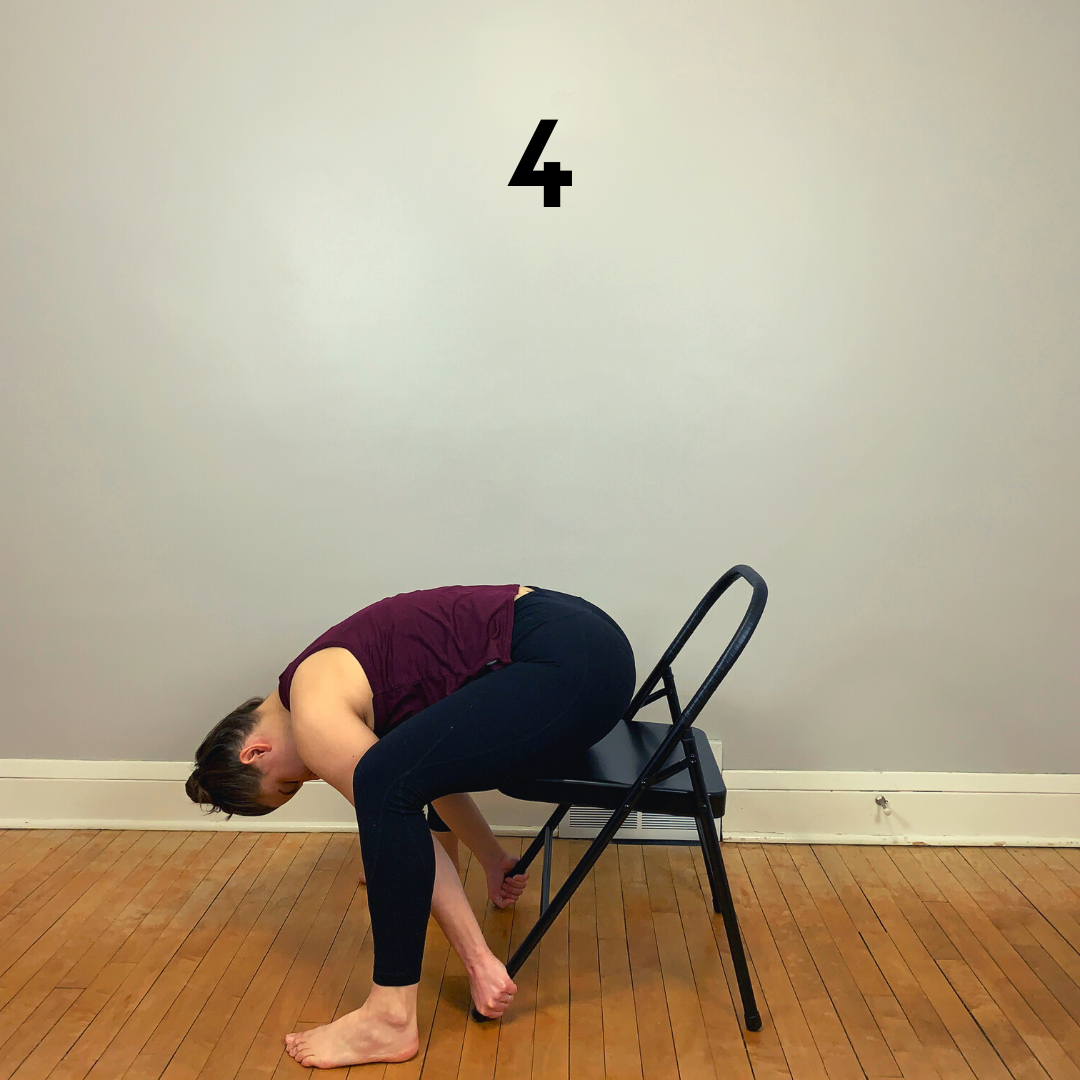
4 - Seated Forward Fold
There’s a few different ways to approach a forward fold while in a chair. You might keep your feet planted about hip distance apart, hinge straight forward, and rest your abdomen in your thighs. Some bodies might benefit from taking the feet and legs wide to create a deeper hinge from the hips. If you’ve got a fairly deep fold, you might reach your hands through your legs to hold the legs of the chair.
If you choose to step the feet wide and go for a deep hinge, it might be worthwhile to play with the angle of the feet. Personally, I benefit from turning the toes slightly out to limit compression in the front of my hips.
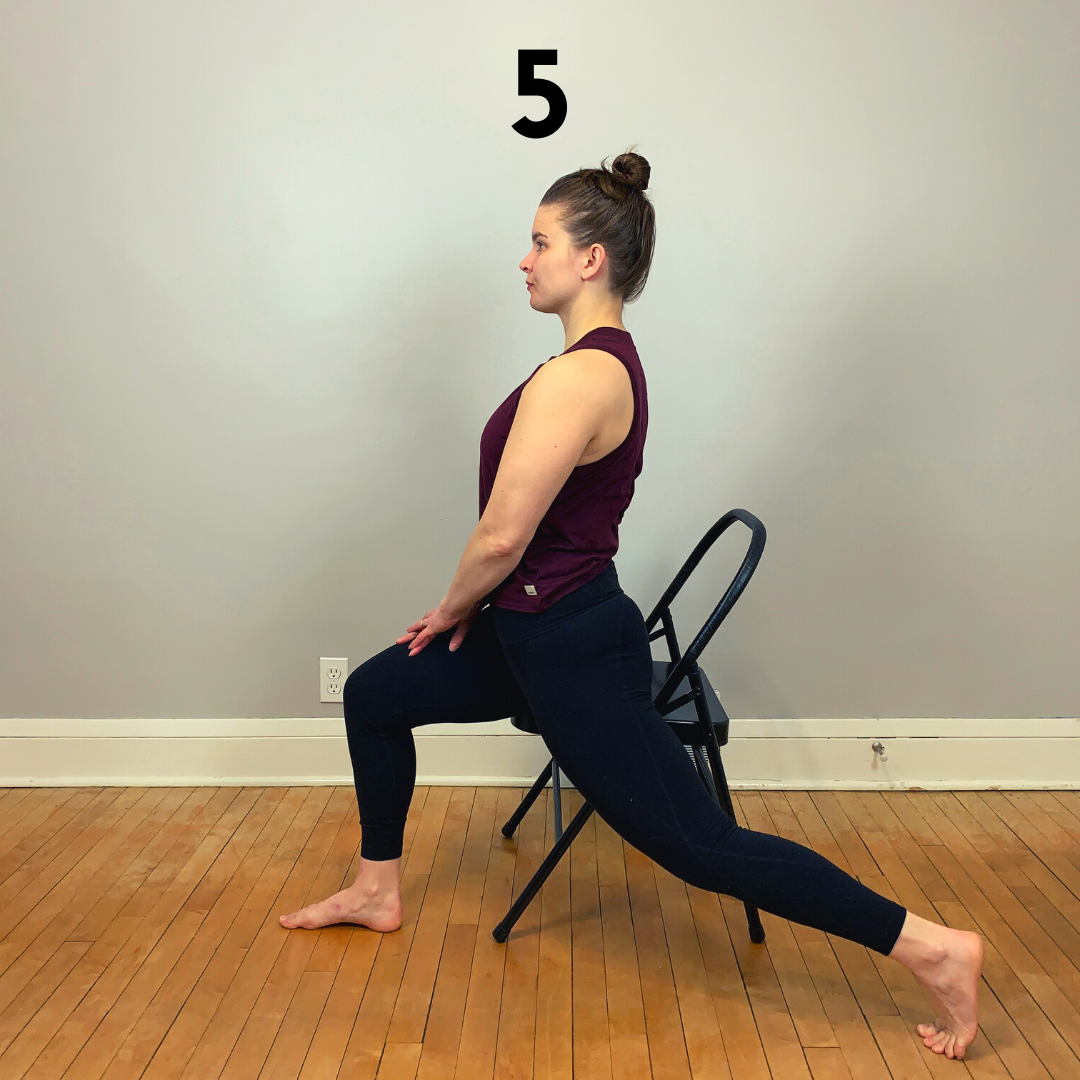
5 - Supported Lunge
A lot of desk-dwellers complain of tight hip flexors and quadriceps. That chair you’ve been sitting on all day could actually be a useful prop to support you in lengthening those areas of the body!
Not all chairs are well-suited for this stretch. You’ll need a chair without arms in order to properly position the body.
From your starting seated position, move your tail toward the left edge of your chair. Keep your right sitting bone on the chair and slide your left buttock completely off the chair. Keep your right foot grounded and right knee bent. Step your left foot back and keep the left toes curled under. You could straighten the back leg like a conventional High Lunge shape, but I find that bending the left knee slightly and tilting the frontal hip bones upward helps to more effectively lengthen the front side of the left hip. Take 5-10 slow breaths and repeat on the second side.
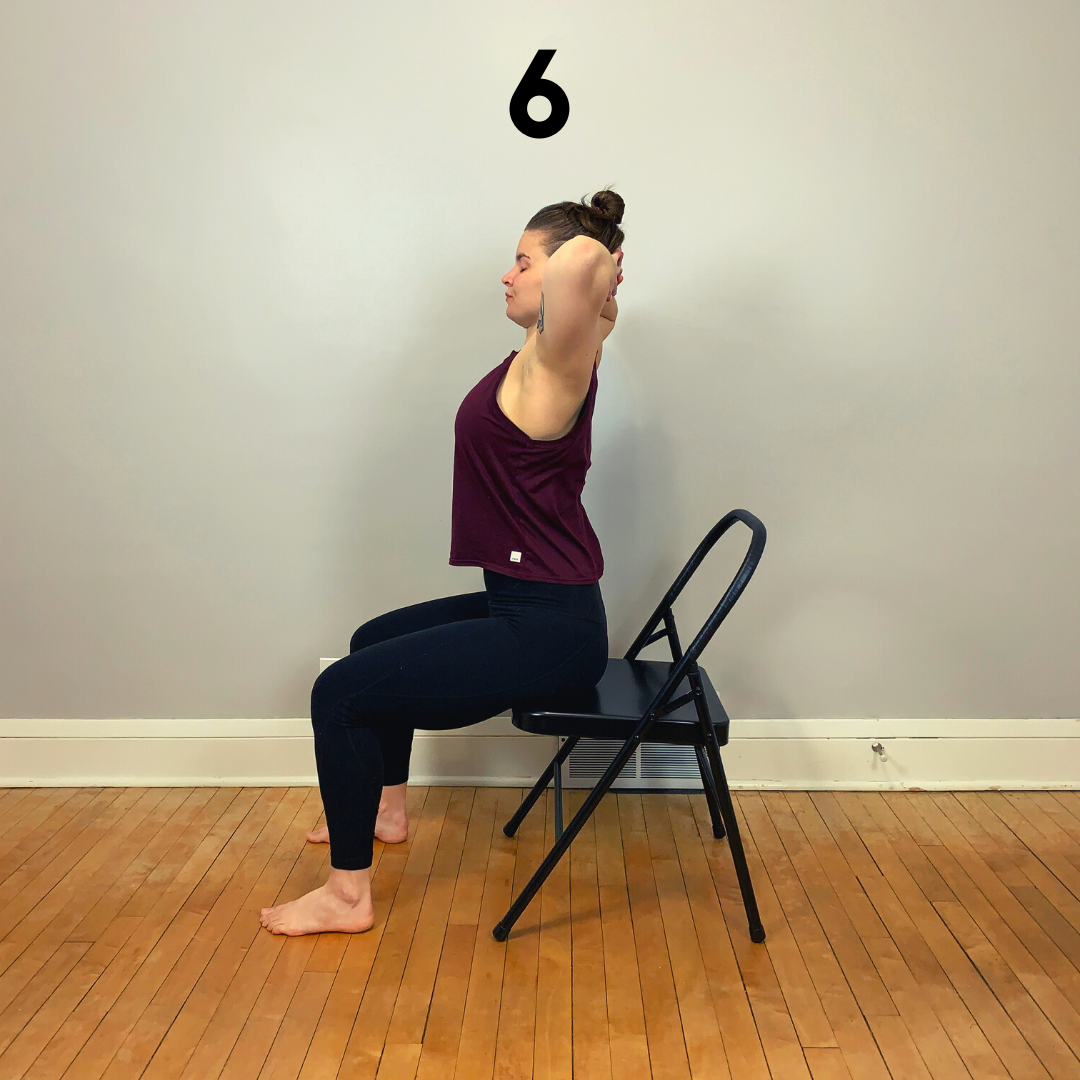
6 - Upper Back Bend
From your starting seated position place your hands behind your head and widen your elbows. Continue to ground your feet on the floor and your sitting bones on the chair. Gently press your hands into your head and your head back into your hands to create resistance. With the elbows drawing back in space, press your upper ribs forward to create a slight backbend in your upper/middle spine. Rather than lifting your chin up like you would in most backbends, pull the chin slightly back like you’re creating a very lovely double chin.
